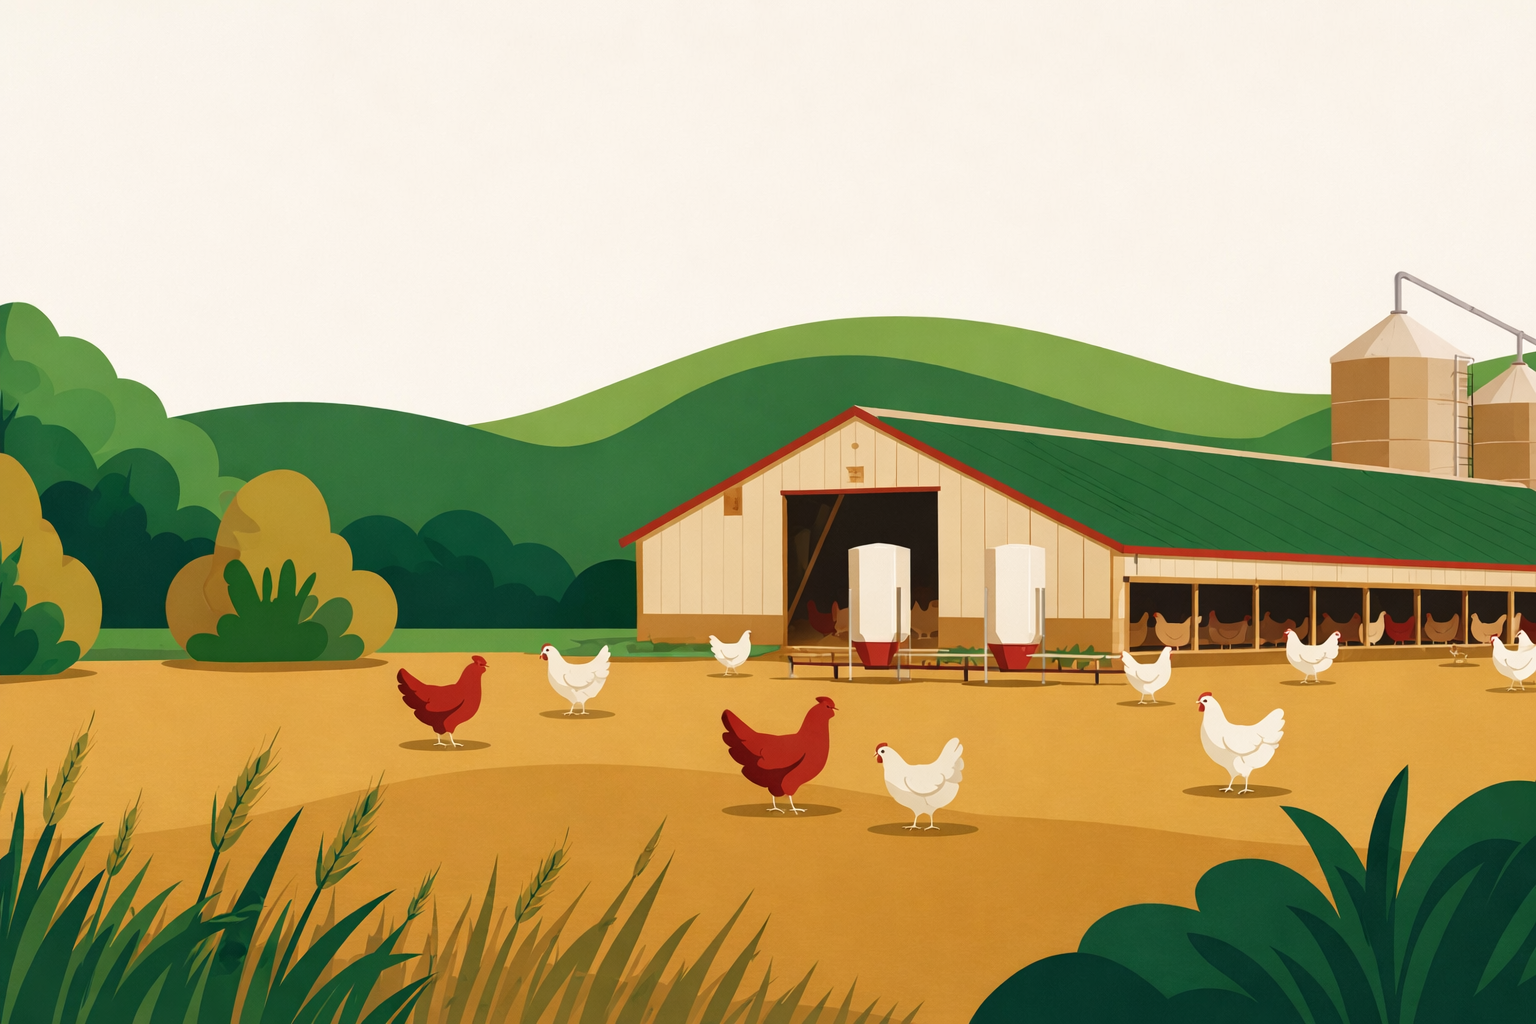
Preparing the poultry house before chick placement step by step
A well-prepared house is the foundation of a successful grow-out. Learn how to go through every stage — from washing to parameter checks — and how DlaFerm.pl helps you miss nothing.
verifiedFrom the team that has organised work on poultry farms for years.
Why does house preparation matter so much?
Day-old chicks have an immature immune system — they are particularly vulnerable to pathogens, cold and environmental management errors. Any shortcut during house preparation can mean higher first-week mortality, a poor growth start and a higher FCR across the whole cycle. The procedures below are based on recommendations from Aviagen, Cobb-Vantress and IZ-PIB.
How long is the break between cycles?
Genetics companies (Aviagen, Cobb) recommend at least 14 days of downtime between the flock leaving and the next placement. In practice most farmers work to a 10–14 day window: a few days for litter removal and washing, a few for disinfection and fumigation, a few for heating up and standing down. Shortening this window increases the risk of carryover pathogens from the previous cycle.
What do the regulations say?
EU Regulation 2016/429 (Animal Health Law) and national veterinary rules require farmers to maintain appropriate hygiene standards. The Veterinary Inspection service can review cleaning and disinfection records. DlaFerm.pl lets you keep digital records of each step — everything is logged and ready to show during an inspection.
How does DlaFerm.pl support house preparation?
In the app you can keep digital house records: washing dates, disinfection dates, swab results, products used and temperature readings before placement. The preparation checklist is on your phone — you tick off completed tasks and the history stays in the system. Read more about the feature: House records.
Preparing the poultry house before placement — 8 steps
- 1
Complete washing, disinfection and downtime
After removing litter and manure, carry out dry cleaning (remove coarse dirt), then wet washing under high pressure, disinfection with a broad-spectrum product and fumigation. Keep the house sealed for at least 7–10 days. Record dates, products used and concentrations — this information is required during a veterinary inspection. More detail: Washing and disinfection.
- 2
Hygiene check — microbiological swabs
Before spreading litter, take swabs from house surfaces (floor, walls, drinker lines). Send them to a veterinary or accredited laboratory. The result should confirm the absence of Salmonella and an acceptable total bacterial count. A negative result is your green light to proceed and serves as due-diligence evidence in your records.
- 3
Equipment repair and inspection
Check every piece of equipment: heating (radiant heaters, furnaces, warm-air blowers) — does it reach the required temperature and heat the brooding zone evenly; ventilation — do the vents, fans and CO₂ sensors work correctly; drinker lines — water pressure, nipple integrity and no scale build-up; feeder lines — auger and pan operation. Repair faults before spreading litter, not on placement day.
- 4
Spread fresh litter
Spread fresh litter to a depth of 5–8 cm evenly across the whole floor. Suitable materials are chopped wheat or rye straw and dry wood shavings. The litter must be dry and free of mould and low in dust. Wet or mouldy litter is a source of Aspergillus and ammonia — both damage the respiratory epithelium of chicks within the first days of life.
- 5
Pre-heating — warm the house and litter (24–48 h before placement)
Start heating at least 24–48 hours before the chicks arrive. Target: air temperature in the brooding zone 32–34°C at floor level, litter temperature minimum 28–30°C. Cold litter chills chicks even when the air temperature is correct — chicks lose heat through the soles of their feet. Check litter temperature with a contact thermometer at several points. More on temperature and humidity: Temperature and humidity in the house.
- 6
Set up drinkers, feeders and brooding zones
Place start-up drinker rings (or nipple lines) and small starter feed trays within the brooding zone, within 30–50 cm of each chick. Check nipple water pressure — too high wets the litter, too low means chicks don't drink. Fill drinker lines and purge any air pockets. Set up cardboard or plastic chick guards to create a brooding ring that restricts chick movement and keeps them close to heat.
- 7
Final parameter check just before placement
Two to three hours before the truck arrives, do a final check: air temperature in the brooding zone 32–34°C (at floor level), litter temperature ≥28°C, relative humidity 60–70%, CO₂ below 3,000 ppm. Check lighting — full intensity (min. 20 lux) in the first days helps chicks find feed and water. Record the readings in the house records.
- 8
Receive and unload day-old chicks
Receive the delivery as soon as the truck arrives — waiting time in boxes increases heat stress. Check chick quality: activity, navel condition, uniformity. Unload boxes efficiently and distribute chicks evenly within the brooding ring. In the first 30 minutes, observe behaviour: chicks should spread evenly in the zone and immediately seek water and feed. After 24 hours check crops in 100 random chicks — more than 95% should have a full crop. More detail: Day-old chick placement.
Frequently asked questions about preparing the poultry house before placement
How many days before chick placement should you start heating the house?add
A minimum of 24 hours, ideally 48 hours before placement. The goal is to reach a litter temperature of at least 28–30°C at floor level. Cold litter chills chicks even when the air temperature is correct, because chicks lose heat through the soles of their feet.
What temperature should the poultry house be at chick placement?add
The brooding zone at floor level should be 32–34°C (per Aviagen and Cobb-Vantress recommendations for light breeds). Litter temperature should be at least 28°C. Relative humidity should be 60–70% and CO₂ should not exceed 3,000 ppm.
How do you verify the house is clean enough after disinfection?add
Take microbiological swabs from house surfaces (floor, walls, drinker lines) and send them to a veterinary or accredited laboratory. The result should rule out Salmonella. Swabs give objective confirmation of disinfection efficacy and serve as a record document.
What litter is best for a broiler house?add
The most common choices are chopped wheat or rye straw (3–5 cm length) and dry wood shavings. Litter must be dry and free of mould. Layer depth should be 5–8 cm. Wet or mouldy litter is a source of Aspergillus and ammonia, which damage the chicks' respiratory tract.
Should chicks have immediate access to feed and water?add
Yes — access to water and feed from the very first minute after unloading is critical. Day-old chicks have yolk reserves, but prompt water and starter feed intake determines a good growth start. After 24 hours more than 95% of chicks should have a full crop.
How does DlaFerm.pl help with house preparation?add
DlaFerm.pl offers digital house records — you can log the date and outcome of each preparation step: washing, disinfection, hygiene swabs, temperature readings, equipment checks. The checklist is on your phone. The history stays in the system and is ready to show during a Veterinary Inspection visit.
Sources & resources
- linkAviagen — Ross 308 Broiler Management Guide (aviagen.com)
- linkCobb-Vantress — Cobb 500 Broiler Management Guide (cobb-vantress.com)
- linkIZ-PIB — National Institute of Animal Production, Poland (iz.edu.pl)
- linkChief Veterinary Inspectorate — hygiene requirements for poultry farms (wetgiw.gov.pl)
- linkEFSA — biosecurity and hygiene requirements in poultry production (efsa.europa.eu)
Keep house records in DlaFerm.pl
Want to see the digital house preparation checklist or have a question about the app? Write to us.
Phone
+48 796 258 151