Breakout analysis — why eggs did not hatch
Breakout analysis means opening and examining eggs that did not hatch in order to find out at what stage and why the embryo stopped developing. It is a diagnostic tool: the distribution of unhatched egg categories tells you whether the problem lies in the parent flock, egg storage, or incubator settings — and exactly what to fix.
verifiedFrom the team that has organised work on poultry farms for years.
Every hatch that ends worse than expected raises the question: what went wrong? Without a breakout analysis the answer is guesswork. Once you open and examine every unhatched egg you have concrete data — you know whether losses started at the beginning of incubation, in the middle, or just before hatch. Each answer points to a different area to correct.
What exactly is a breakout analysis?
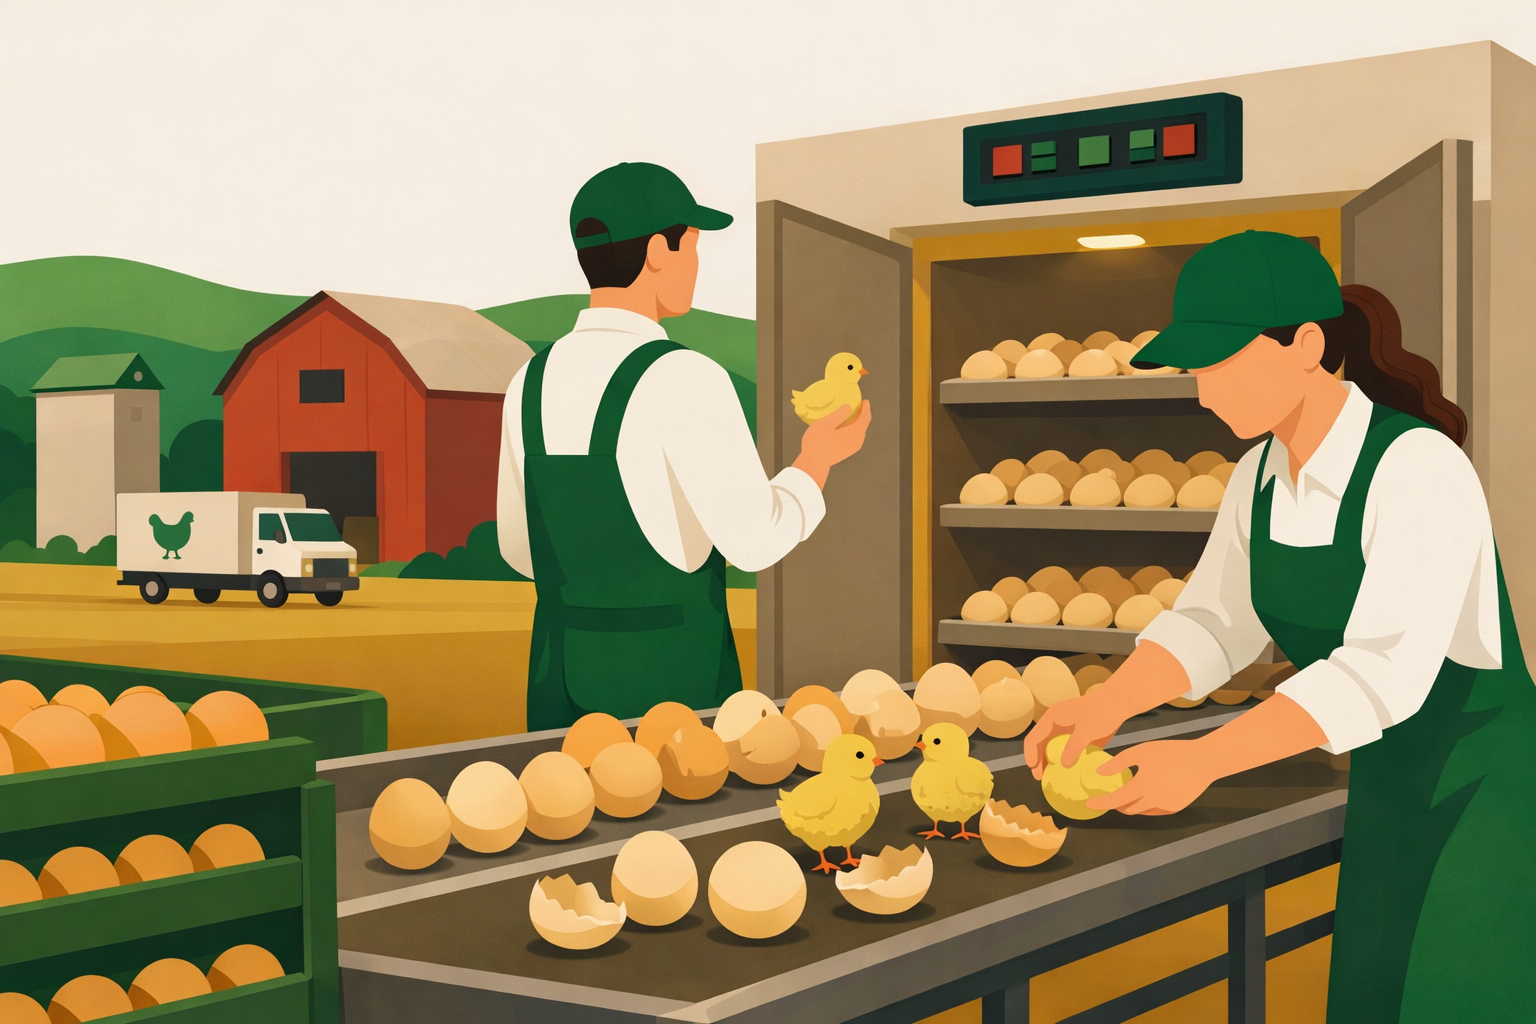
A breakout analysis is the systematic opening and examination of eggs remaining after a hatch — those from which no chick emerged. Each egg is assigned to one of several categories (infertile, early dead, mid-term dead, late dead or pipped not hatched). Once the number of eggs in each category is counted and expressed as a percentage, a clear pattern emerges. That pattern is your diagnosis. The basics of poultry egg incubation and embryo development in the egg will help you understand what you see during the analysis.
When is a breakout analysis worth doing?
Ideally after any hatch with below-average results — low hatch rate, many infertile eggs, or many weak chicks at hatch. It is also valuable as a routine check every few hatches to catch problems before they worsen. Results should be compared across hatches — the trend is often more important than a single result.
How to perform a breakout analysis — step by step
- 1
Collect all unhatched eggs from one hatch
After the hatch collect all eggs from which no chick emerged — from both the setter and the hatcher if you use two machines. Record the total number of eggs set and the number of chicks that hatched — this is the basis for calculating percentages. Do not mix eggs from different hatches or different batches.
- 2
Open each egg and examine the contents
Open carefully to avoid smearing the contents. The simplest method is to gently crack the shell at the blunt end and cut it open with scissors or a scalpel. Examine the interior under good light. Look for: no embryo (infertile), a small red dot or blood ring (early death), a dark embryonic mass at mid-term, or a fully formed chick. If in doubt, take photos and compare with the category descriptions below.
- 3
Assign each egg to a category and record it
Five categories: (1) infertile — clear, no embryo; (2) early embryo death — first 3–4 days; (3) mid-term death — days 5–14 in the chicken; (4) late death or pipped not hatched; (5) weak chick at hatch. Mark each egg's category on paper or in a spreadsheet. Keep a separate tally for each flock or egg batch.
- 4
Calculate percentages
For each category, calculate what percentage of all eggs set it represents. For example: 5 infertile eggs out of 100 set = 5% infertile. Indicative norms: infertile below 5%, early death below 2%, mid-term death below 1%, late death and pipped below 3%. Exceeding the norm in a given category points to the specific problem area.
- 5
Compare with norms and identify the problem area
Compare percentages with indicative norms and with your previous hatches. Many infertile eggs = parent flock problem (cockerels, fertility). Many early deaths = poor egg storage, eggs too old, or too high a temperature at the start of incubation. Many late deaths and pipped = errors in the hatcher (humidity, ventilation, temperature). Detailed guidance on incubator conditions is in the guide on poultry egg incubation.
- 6
Make one correction and check the next hatch
Do not change several things at once — if you change more than one variable you cannot know what helped. Choose the most important correction (the one suggested by the dominant loss category), apply it, and check the result in the next hatch. This systematic approach gives you real knowledge about what works in your hatchery.
What each category of unhatched eggs tells you
Every unhatched egg belongs to one of the groups below. The dominant category indicates where to look for the cause of poor hatch.
Infertile (clear)
A clear egg — no embryo, no sign of blood. When you open such an egg after the hatch you see only yolk and albumen, just like a table egg. When there are many (above 5%), the problem lies with the parent flock: too few cockerels, poor ratios, poor cockerel condition, or an ageing pair. The hatchery has nothing to correct here — any changes to incubator settings will not help if the eggs were infertile from the start.
Early embryo death (first days)
An egg with a visible red dot, blood ring, or fine network of blood vessels arrested at an early stage — the embryo began to develop but died quickly. Most common causes: too long or poor egg storage before setting (too warm, too cold, too humid, or too dry), eggs too old when set, vibration during transport, and too high a temperature in the setter at the start of incubation. Read more about correct conditions in the guide on storing hatching eggs.
Mid-term embryo death (days 5–14 in the chicken)
The embryo developed to mid-incubation but died in the middle phase. A clear embryonic mass with blood vessels is visible, but without signs of maturity — no feathers, no fully formed body. This category is relatively rare. The most common causes are nutritional deficiencies in the parent flock (vitamin E, folic acid, biotin) or bacterial infections transmitted through the egg. Consult a veterinarian if the percentage is significantly elevated.
Late embryo death and pipped not hatched (dead in shell)
A fully or nearly fully formed chick that died just before hatch or managed to pip (pierce the membrane) but did not emerge. This is the most common category of losses and the one most directly linked to hatcher settings in the last days: too low humidity (the chick dries out and cannot turn), too high humidity (too thick inner membrane), poor ventilation, wrong temperature, incorrect egg positioning, or insufficient turning. Detailed embryo development stages are described in the guide on embryo development in the egg.
Hatched but weak or abnormal chicks
A chick emerged from the shell but is weak, deformed, or unfit for rearing. Causes are similar to late death: mainly hatcher conditions and the last days of incubation (humidity, temperature, ventilation). Genetic problems or egg-transmitted disease may also be involved. Count these separately, as they provide different information from healthy, vigorous chicks.
Most common causes of poor hatch — what to fix
Below are the most common causes for each loss category and the first thing to check or change.
Too many infertile eggs — check the flock
Assess the number and condition of cockerels (cockerel-to-hen ratios, age, health), check whether cockerels are not too fat or too thin, and whether they have access to all hens in the house. If the problem persists, consult a veterinarian — it may be low semen quality or reproductive disease.
Too many early deaths — check egg storage and transport
Hatching eggs should be stored at about 10–18°C, humidity about 75–80%, blunt end up, and turned daily if held longer than 5–7 days. Check for vibration during collection or transport. Eggs too old (more than 7–10 days from lay) lose hatchability dramatically. See the guide on storing hatching eggs for details.
Too many late deaths and pipped — check the hatcher
This is the most common hatchery-side problem to fix. Check hatcher humidity (too dry = chick cannot turn; too wet = inner membrane too thick), temperature (too high accelerates development and causes many failed hatches), ventilation (oxygen deficit in the final phase = weak chicks), and egg positioning (blunt end up). Also check that the setter heats all eggs evenly — cold corners produce clustered losses.
Most common mistakes in breakout analysis
A few things that make analysis results unreliable or lead to wrong conclusions.
Mixing eggs from different hatches or batches
If you set eggs from several suppliers or flocks without marking them, the breakout analysis tells you nothing — you do not know which losses belong to which batch. Mark eggs with a marker before setting and analyse each batch separately.
Opening eggs without recording results
Observation without numbers gives no comparable data. You may feel that "there were a lot of pipped eggs," but without counts you do not know whether it was 5% or 20%. Use a simple sheet — one row per egg or at least a counter per category.
Changing multiple things at once after a poor result
If after a bad hatch you simultaneously change temperature, humidity, and egg batch, you will not know what helped. Make one change and evaluate the result in the next hatch. This is slower but gives you certain knowledge rather than guesswork.
Skipping analysis when hatch results are good
Routine breakout analysis every few hatches lets you catch a growing negative trend before it becomes a problem. If the percentage of pipped eggs grows from 1% to 2% to 4%, do not wait for a bad hatch — act earlier.
Frequently asked questions about breakout analysis
What is a breakout analysis in poultry?add
A breakout analysis means opening and examining eggs that did not hatch in order to find out at what stage and why the embryo stopped developing. Each egg is assigned to one of several categories (infertile, early death, mid-term death, late death or pipped not hatched). The percentage breakdown of these categories is your diagnosis — it points to whether the problem lies in the parent flock, egg storage, or incubator settings.
Why did eggs not hatch even though they looked fine?add
An egg can look normal on the outside while the embryo died at any stage of incubation. The most common causes are too low humidity in the hatcher (chick dried out and could not turn), prolonged high temperature, poor ventilation, incorrect egg positioning, or too long storage before setting. Only a breakout analysis (opening the eggs) tells you what actually happened.
What is the difference between an infertile egg and an early dead embryo?add
An infertile egg opened after the hatch looks like a table egg — yolk, albumen, no trace of an embryo. An egg with early embryo death shows a visible red dot, blood ring, or network of blood vessels — a trace of an embryo that began to develop but died quickly. This distinction is crucial: an infertile egg points to the parent flock, while early death points to storage conditions or incubator temperature at the start.
What does "pipped but not hatched" mean?add
A pipped egg is one in which the chick has already broken through the air cell membrane or the outer shell, but did not emerge and died. This is a category of late losses, most often linked to hatcher conditions: too low humidity (chick dries out and lacks the strength to turn), poor ventilation (lack of oxygen), or too high temperature. Many pipped eggs without hatching is a clear signal to check the hatcher settings.
What is the normal percentage of infertile eggs?add
Indicatively, the percentage of infertile eggs in a healthy flock should be below 5%. A result above this threshold is a signal to evaluate the parent flock — the number and condition of cockerels, cockerel-to-hen ratios, and bird health. Norms may differ between species and genetic lines, so it is worth comparing results with previous hatches from the same flock.
How does breakout analysis relate to egg structure assessment?add
When opening eggs for analysis, it is worth noting shell quality, air cell size, and any contamination. A too-small air cell suggests too high humidity during storage or incubation. Cracks, deformations, and dirty shells point to flock or collection hygiene problems. The basics of egg structure are described in the guide on egg structure.
Record your hatch results in DlaFerm.pl
Want to log breakout analysis results, track trends across hatches, and know what to fix? Create a free farm account or write to us.
Phone
+48 796 258 151